How to Setup VPN for iOS - A Comprehensive Guide
In today's digital age, securing your online presence is more important than ever. Whether you're browsing at home or on public Wi-Fi, using a VPN (Virtual Private Network) is an essential step in safeguarding your personal and sensitive information. This guide will provide you with detailed instructions on how to setup VPN for iOS, helping you maintain your privacy and access restricted content seamlessly.
What is a VPN and Why Do You Need One?
A VPN creates a secure and encrypted connection between your device and the internet. It routes your data through a remote server, masking your real IP address and providing anonymity while you surf the web. Here are some compelling reasons why you should consider using a VPN:
- Enhanced Security: VPNs protect your data from hackers and other cyber threats, particularly on unsecured public networks.
- Anonymity: By hiding your IP address, a VPN helps maintain your online identity and reduces your digital footprint.
- Access to Restricted Content: VPNs allow you to bypass geo-blocks, making it possible to access streaming services and websites restricted in your location.
- Safe Online Transactions: If you frequently shop or bank online, a VPN keeps your sensitive information secure.
Choosing the Right VPN for iOS
Before diving into the setup process for your iOS device, it's crucial to choose a reputable VPN service. Here’s what to look for:
1. Compatibility with iOS
Ensure the VPN you choose has a dedicated iOS application that’s compatible with your device.
2. Strong Encryption Standards
Look for a VPN that offers robust encryption protocols (like OpenVPN or IKEv2) to ensure your data is safe during transit.
3. No-Logs Policy
A good VPN should have a transparent no-logs policy, meaning they do not track or store your online activities.
4. Fast Connection Speeds
While using a VPN can slow down your internet speed, choose one that minimizes loss of speed to enhance your browsing experience.
5. Customer Support
Opt for a provider that offers reliable customer support to help you with any issues you may encounter.
Steps to Setup VPN for iOS
Now that you have selected a VPN service, follow these simple steps to set it up on your iOS device:
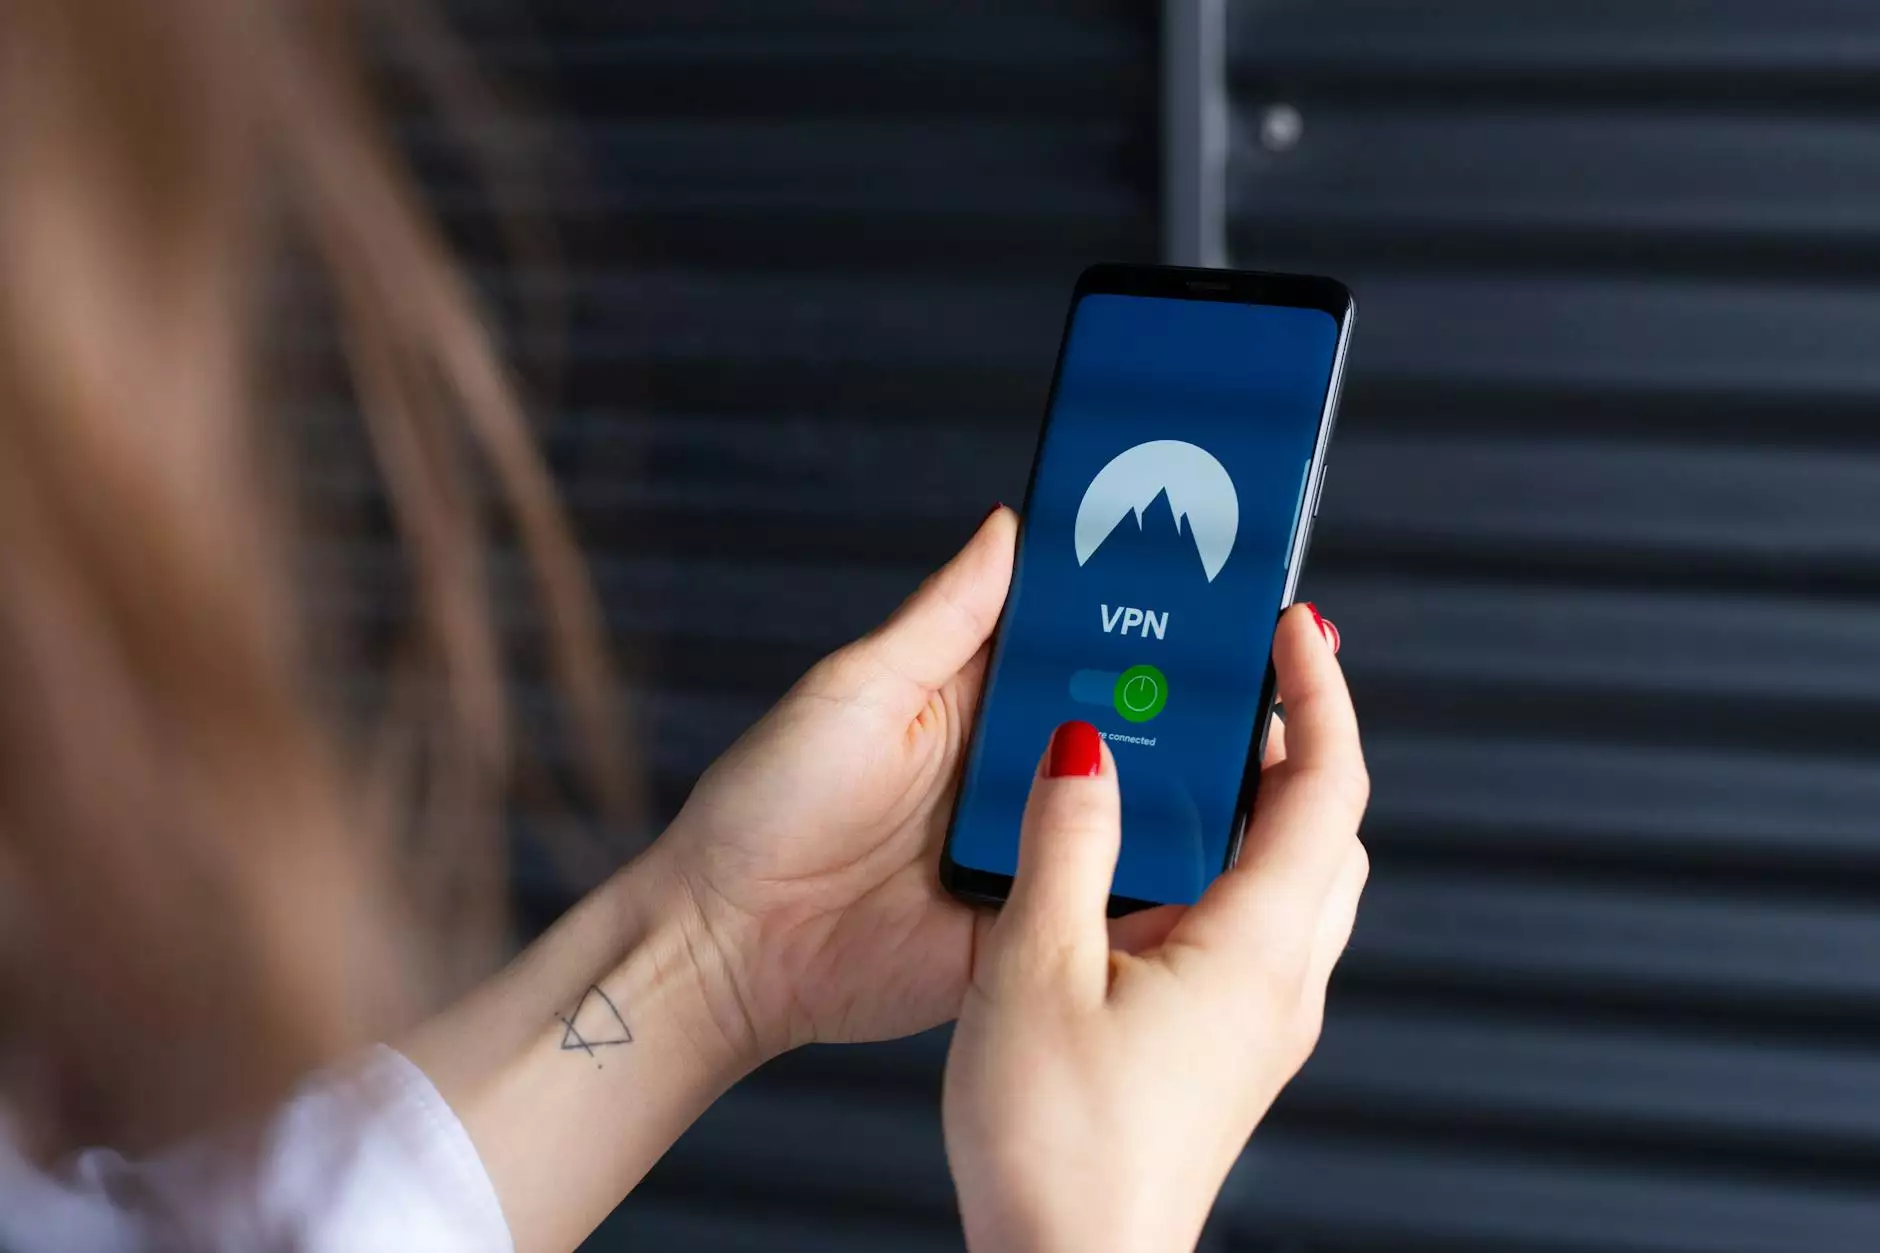
Step 1: Download the VPN App
Go to the App Store on your iOS device. Search for the VPN you’ve chosen (e.g., ZoogVPN) and download the application. It’s usually free to download, though you may need to subscribe for full features.
Step 2: Create an Account
Open the app after installation. You will need to create an account or log in if you already have one. Follow the on-screen instructions to register.
Step 3: Configure VPN Settings
Once logged in, you may be prompted to configure VPN settings. This usually involves allowing the app to create a VPN profile on your device. This step is crucial for the app to function properly.
Step 4: Select a Server
In the app, you’ll typically see a list of servers. Choose a server based on your needs, such as a server in a specific country for accessing geo-restricted content or a nearby server for better speed.
Step 5: Connect to the VPN
Tap the connect button. If prompted, allow the app to install a VPN configuration profile on your device. Make sure you trust the app to make these changes.
Step 6: Verify the Connection
You should see a VPN icon appear on your iOS status bar once connected. You can verify your new IP address and ensure the VPN is functioning by visiting a site like whatismyipaddress.com.
Troubleshooting Common Issues
While setting up a VPN on your iOS device is generally straightforward, you may encounter some issues. Here’s how to resolve common problems:
1. Connection Issues
- First, check your internet connection. A weak connection can interrupt your VPN service.
- Try connecting to a different server if you cannot connect to your preferred one.
- Restart your device and try reconnecting.
2. Slow Speeds
- Connect to a server closer to your physical location for better speeds.
- Experiment with different protocols within the app settings to see if it improves speed.
- Disconnect other devices that may be using bandwidth on your own network.
3. App Crashing
- Ensure that your VPN app is updated to the latest version in the App Store.
- Reboot your iOS device to clear any temporary glitches.
Conclusion
In summary, learning how to setup VPN for iOS is a crucial skill in maintaining your online security and privacy. By following the steps outlined in this guide, you can effectively protect your data, access restricted content, and browse the web anonymously. The key to a successful VPN experience lies in selecting a reputable service that aligns with your needs and providing proper configuration on your iOS device.
Don’t wait to enhance your online security—take the plunge into the world of VPNs now! With a reliable service like ZoogVPN, you can enjoy peace of mind as you navigate the online landscape.